For the home maple syrup hobbyist, buying an expensive manufactured maple syrup evaporator is an expense that will never be recouped by making your maple syrup. The backyard sugarer is then left to his or her ingenuity to build something from cheap and easily obtainable materials to accomplish the task of boiling down many gallons of sap to be left with delicious golden maple syrup.
I have been using a homemade evaporator made from concrete blocks, steel grate, aluminum pans and leftover ductwork for several years now. I believe I had all this material laying around and you could probably get most of this stuff for pretty cheap if you have to purchase any of it. This article will show step by step how to make a cinder block maple syrup evaporator.
Site Prep
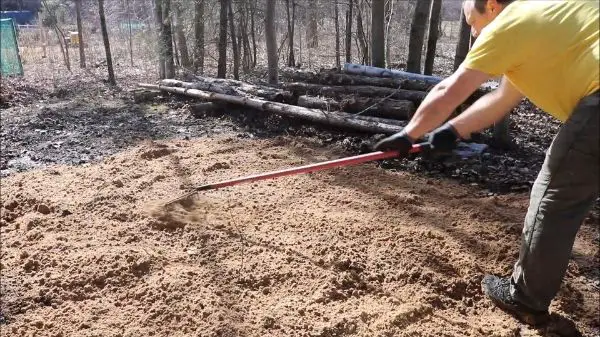
Find a nice level spot and clear out any brush, sticks, or leaves. I made a compacted sand bed by dumping the sand in my location, spreading it out with a rake and then tamping it down with a hand compactor to make a flat level surface.
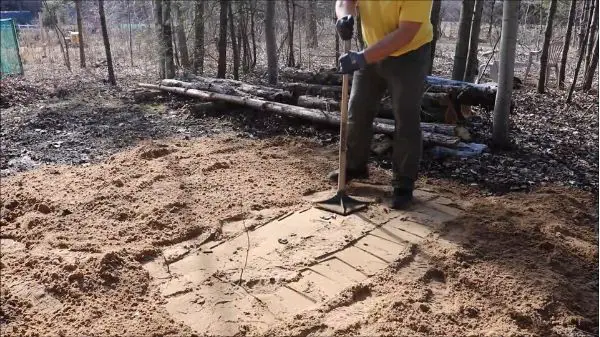
The sand bed isn’t absolutely necessary, but it makes a great foundation to lay the block on to build the firebox. If your yard has a sufficiently flat spot it should work just fine or even spot fill as necessary to create the foundation.
Block Placement for Firebox
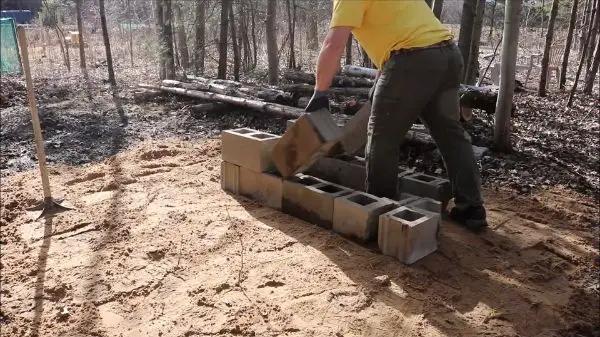
This set-up is temporary so the blocks are just dry stacked – no mortar necessary. The size of the firebox depends on the size of the grating and pans you have available to use. For my layout, I went two blocks (32″) wide by three blocks (48″) long. This leaves an inside dimension of 16″ by 40″. To accomplish this you will need 2 half blocks. These can be factory halves or as you can see in the picture I used a couple of broken blocks.
This size worked perfectly for the roasting pans I used for the sap. The front of the fire box is left open to allow for adding firewood. On the second row of the back of the firebox one block was left out for the flue setup which we’ll talk about next.
Flue Setup
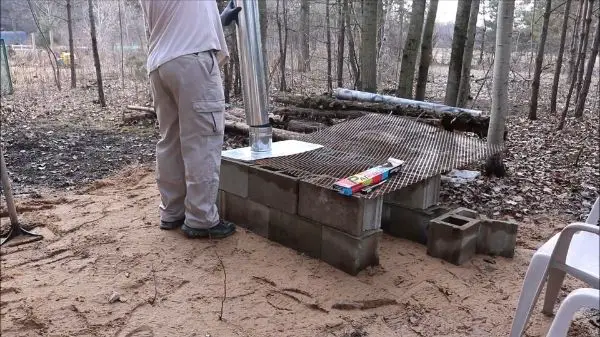
I happened to have some leftover duct work from building my house which worked out good to make a flue. I used one half of a rectangle duct to cover the back hole in the firebox and allow for a 6″ round takeoff to be attached to the top side. I then inserted a 6 ft. length of 6″ round duct as the flue or chimney. I used galvanized because it’s what I had, but if I were to buy a piece of round duct I would get it in black. Single-walled galvanized duct is not made for the heat of the flue gases which burns away some of the galvanizing.
Grate and Pans
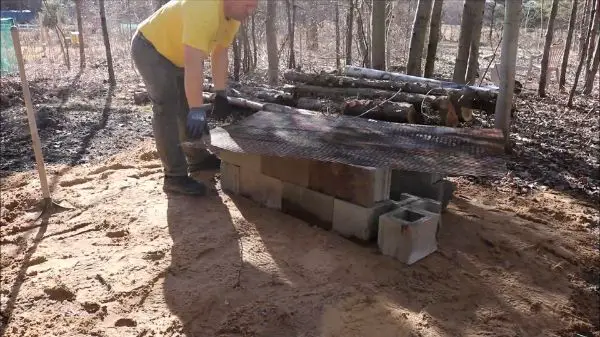
I use a piece of steel grating for the top of my evaporator which is much bigger than I need, but I didn’t want to cut it down because I thought I might need it for a different project. Any sort of steel grates will work for this even old grill grates. Depending on how well your pans cover the opening you may get by with just a couple pieces of angle iron to support the pans and not need a grate at all.
Having a custom built stainless steel pan to fit perfectly over the top would be ideal, but you can purchase a lot of maple syrup from someone else for the several hundred dollars that sort of pan would cost. Someday if I ever build a more permanent evaporator and expand my operation more I will buy or build a custom pan. For now I use roasting pans and they seem to fit just right. I used steel pans for the first couple of years, but they are so difficult to clean afterwards, that now I buy the disposable aluminum roasting pans and then recycle them when done.
Operation
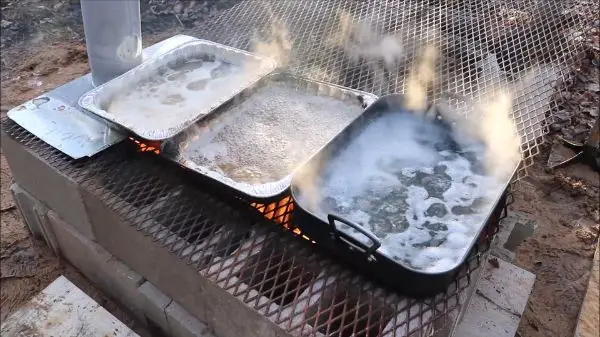
To begin the evaporation process get a fire going in the firebox. With this type of set-up most of the smoke will rise through the flue, but a little will come up around the pans. Because of this, the finished syrup will take on a little bit of a smokey flavor. I use only maple wood for my fire so that smokiness really adds to the flavor of the syrup. You could use other hardwoods but I would stay away from any softwoods or rotting or punky woods unless you have a good seal between the fire and the pans.
As soon as the fire is going, I dump some of my sap into the pans. It won’t take long and you should have a good rolling boil. The hotter your fire, the quicker you’ll transform the water in the sap into steam. It takes 40 gallons of sap to make 1 gallon of syrup (approx) which will take about 5-7 hours to boil it all down. I like to do 20 gallons of sap at one time so it’s not so overwhelming and makes it a little more manageable.

As the sap is boiling I use a small strainer to keep the foam to a minimum and scoop out any debris that may have fallen into the sap. Continue adding sap to the pans as more water evaporates. I also keep a big turkey fryer pot next to the fire to preheat the sap that I add to the pans. When you add cold sap it stops the boil for a bit so preheating it helps with that a bit.
When you get towards the end of your sap and the last of it is all in the pans, be careful not to let them get too low or it will start to burn the sugar that is in the very concentrated sap. I like to keep condensing down to fewer pans until I’m down to just one.
At this point I pour the sap into a pan and bring into the house to finish on the stove. A turkey fryer will work for this also if you want to keep it outdoors. I like the control I get on the stove, but you don’t want to bring it in too soon and have to boil off a lot of water that will cause condensation in your house.
When I first bring in the sap from outside, I like to pour it through a maple syrup filter before doing the finish boil. Then once your sap reaches a temperature of 7.5 degrees above the boiling point (depending on your elevation) it is considered syrup. If you don’t boil to that temp your syrup will be thin and could spoil due to excess water. If you boil too long and get above 220 or so than you could get some sugar crystals to form inside your bottles.
You could also use a hydrometer to measure the specific gravity of the syrup to determine when it’s reached perfection. These are relatively inexpensive and would be worth the investment if you plan on making your own syrup every season. Most of the equipment that we use is listed on the Resources Page of this website.
The last step in this process is to bottle your syrup. I prefer to use glass bottles but there are also plastic and tin ones available. The first couple of years we made our own syrup we just used Mason jars. I’m a bit leary about using plastic because of the chemicals in the plastic that could leach into the syrup. Plus I really like the traditional look of the glass bottles.
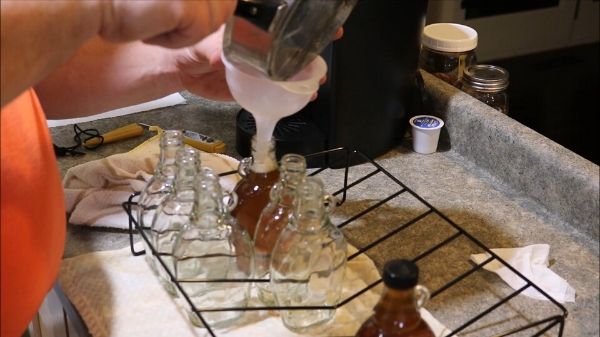
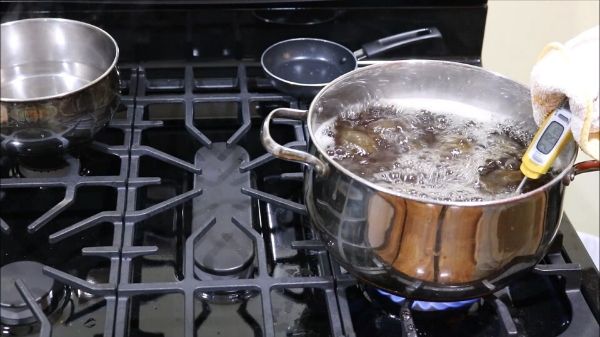
Either way make sure the jars are clean and sterile. I steam them in a pan of water just prior to filling. Fill to about 1/2″ of headroom and cap the bottles. Once cool the caps seal up really good and you can store syrup in glass bottles for many years if necessary where the plastic and tin are usually only good for a year or two.
There are several videos on our YouTube channel on making maple syrup. Here’s a link to the entire playlist or watch the video below:
Clean-up
Now is the time to wash all the taps, buckets, hoses and other sap collection equipment. If I used aluminum pans, I’ll recycle them and wash up any other buckets, pans and utensils I used in the evaporation process. Putting everything away clean makes it easy for the start of next year’s season.
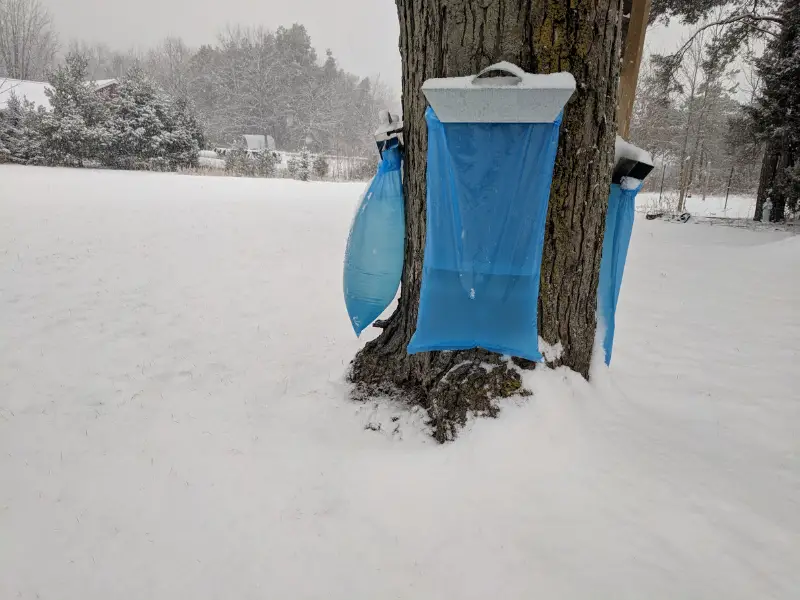
I set up the evaporator in the late winter as soon as I tap my first trees. When the season is done I take it down and stack everything out of the way until next season. This same set-up may not work exactly for what you want to do, but I hope it inspires you to be creative and fabricate your own maple sap evaporator.